We all face situations where we need to factory reset our devices, and in the world of networking, the Cisco ASA 5506 X is no exception. In this guide, we’ll walk you through the process of performing a factory reset a Cisco ASA 5506 X in a step-by-step manner. We’ll also address some common issues and FAQs related to the factory reset process.
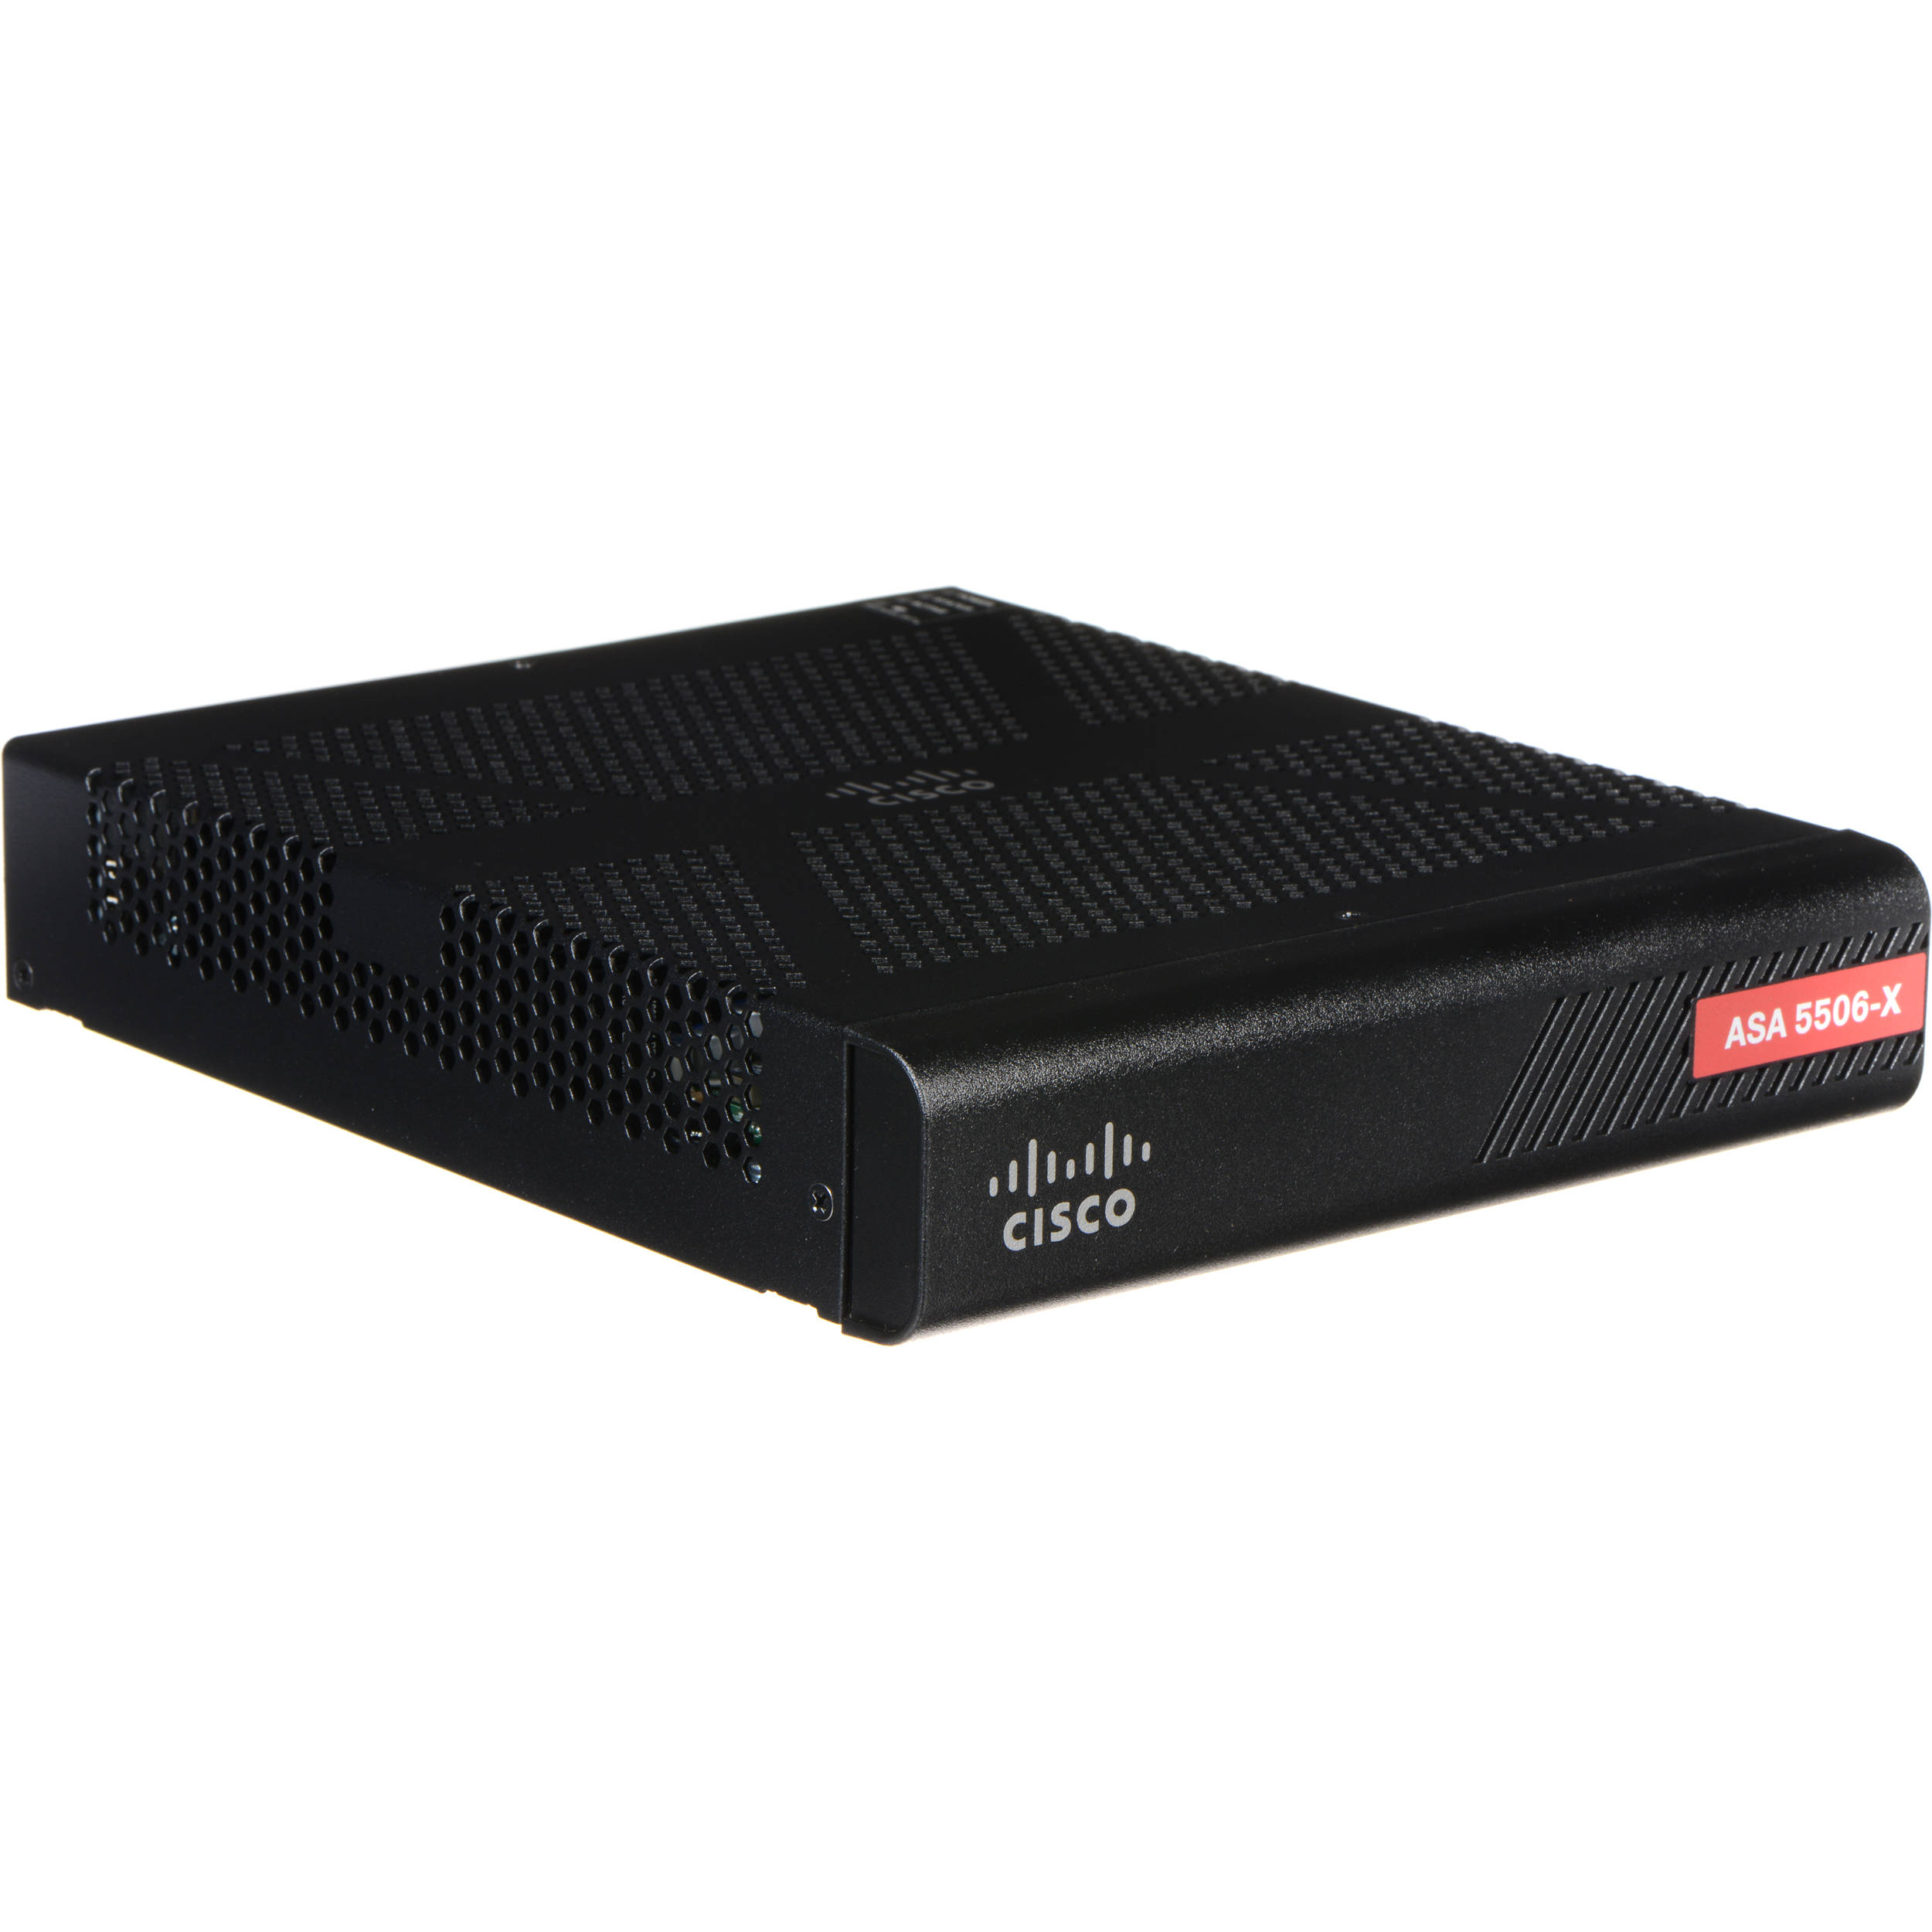
The Cisco ASA 5506 X is a popular network security appliance designed for small to medium-sized businesses. It offers a wide range of security features, including firewall, VPN, and intrusion prevention system (IPS) capabilities. As a result, it’s essential to know how to perform a factory reset on the ASA 5506 X to maintain its optimal performance and security.
When to Perform a Factory Reset
Before diving into the factory reset process, it’s vital to understand when and why you might need to perform a reset on your Cisco ASA 5506 X. Here are some common scenarios:
- You’re experiencing device configuration issues.
- You need to clear sensitive information before transferring ownership.
- You’re troubleshooting a complex issue that requires a clean slate.
Keep in mind that a factory reset will erase all configurations and settings, so make sure to back up any critical data before proceeding.
The Factory Reset Process
Performing a factory reset on your Cisco ASA 5506 X is a straightforward process. Follow these steps:
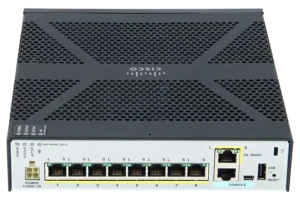
- Connect to the device: Using a console cable, connect your computer to the Cisco ASA 5506 X console port.
- Launch the terminal software: Open a terminal emulation software, such as PuTTY, and configure the appropriate serial settings.
- Power cycle the device: Turn off the Cisco ASA 5506 X, wait a few seconds, and then turn it back on.
- Access the ROMMON mode: Press the
Esckey within the first 5 seconds of the device booting up to enter ROMMON mode. - Issue the reset command: Type
confreg 0x41and pressEnter. Next, typebootand pressEnteragain. - Enter initial configuration: After the device reboots, follow the initial configuration prompts to set up the factory default settings.
- Save the configuration: Once you’ve completed the initial setup, enter
write memoryorcopy running-config startup-configto save your changes.
Congratulations! You’ve successfully performed a factory reset on your Cisco ASA 5506 X.
Cisco ASA 5506 X Password Recovery Process
In some situations, you may need to recover the password for your Cisco ASA 5506 X without performing a full factory reset. Here’s how to do it:
- Connect to the device: Using a console cable, connect your computer to the Cisco ASA 5506 X console port.
- Launch the terminal software: Open a terminal emulation software, such as PuTTY, and configure the appropriate serial settings.
- Power cycle the device: Turn off the Cisco ASA 5506 X, wait a few seconds, and then turn it back on.
- Access the ROMMON mode: Press the
Esckey within the first 5 seconds of the device booting up to enter ROMMON mode. - Change the configuration register: Type
confreg 0x2142and pressEnter. Next, typebootand pressEnteragain. - Enter privileged EXEC mode: After the device boots up, enter
enableto access privileged EXEC mode. You won’t need to provide the password at this point. - Enter global configuration mode: Type
config tto enter global configuration mode. - Reset the password: Use the
enable secret <new_password>command to set a new password for your Cisco ASA 5506 X. - Change the configuration register back: Type
config-register 0x2102to revert the configuration register to its default setting. - Save the configuration and reboot: Enter
exitto leave global configuration mode, then save the changes withwrite memoryorcopy running-config startup-config. Finally, issue thereloadcommand to reboot the device.
Now you have successfully recovered the password for your Cisco ASA 5506 X without losing any configuration settings.
Additional Reset Options
In some cases, you might need to perform additional reset options on your Cisco ASA 5506 X, such as:
- Resetting the password: Follow the same steps as the factory reset process, but instead of entering
confreg 0x41in ROMMON mode, enterconfreg 0x2142. After the device boots, enterenableto access privileged EXEC mode, and then issue theconfig tcommand. Reset the password using theenable secret <new_password>command, and save the changes withwrite memoryorcopy running-config startup-config. - Resetting to a previous configuration: If you have a saved backup of a previous configuration, you can restore it by using the
copy tftp running-configcommand. Specify the TFTP server’s IP address and the configuration file’s location on the server. After the file is transferred, save the changes withwrite memoryorcopy running-config startup-config.
Common Issues and Troubleshooting
Sometimes, you might encounter issues during the factory reset process. Here are some common problems and their solutions:
- Unable to access ROMMON mode: Ensure you’re pressing the
Esckey within the first 5 seconds of the device booting up. If it still doesn’t work, try a different keyboard or terminal software. - Device not responding after factory reset: Double-check your terminal software’s serial settings and the console cable connection. Ensure the device has fully rebooted after issuing the
bootcommand. - Configuration not saved after factory reset: Verify that you’ve entered the
write memoryorcopy running-config startup-configcommand after completing the initial setup.
Performing a factory reset on your Cisco ASA 5506 X is an essential skill for network administrators. It enables you to troubleshoot issues, clear sensitive data, and start with a clean slate when necessary. By following the steps outlined in this guide, you can confidently perform a factory reset and maintain your device’s optimal performance and security.